BTGuard VPN for MacOS
Setup Instructions
- 1. Download and open the BTGuard VPN app on your mac.
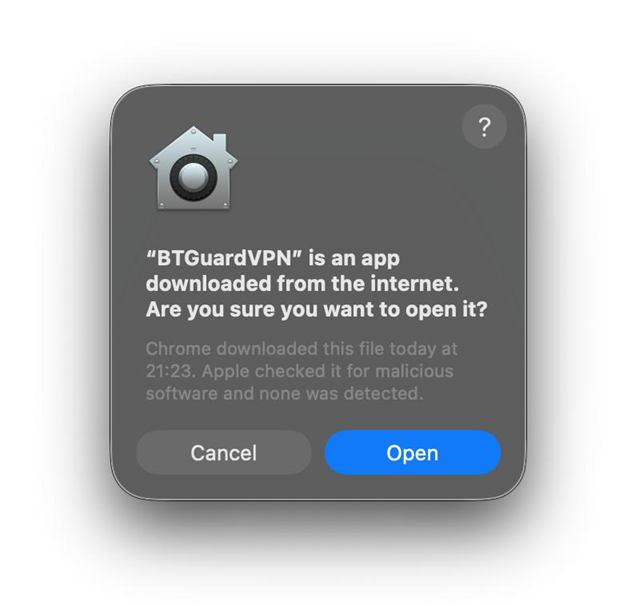
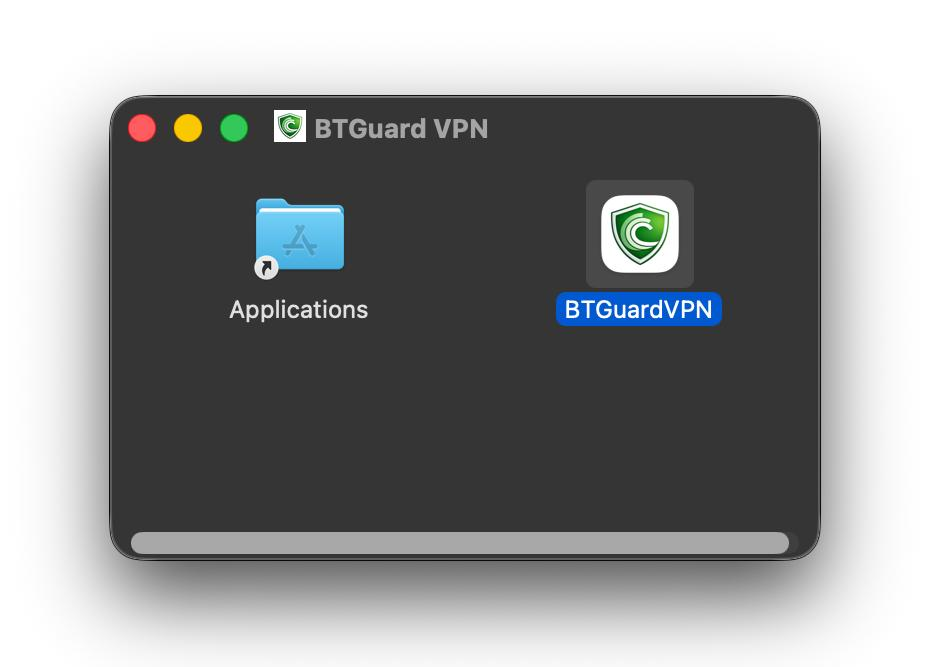
- 2. Click on Open then drag and drop the BTGuardVPN app into the Applications folder.
- 3. Open BTGuard VPN.
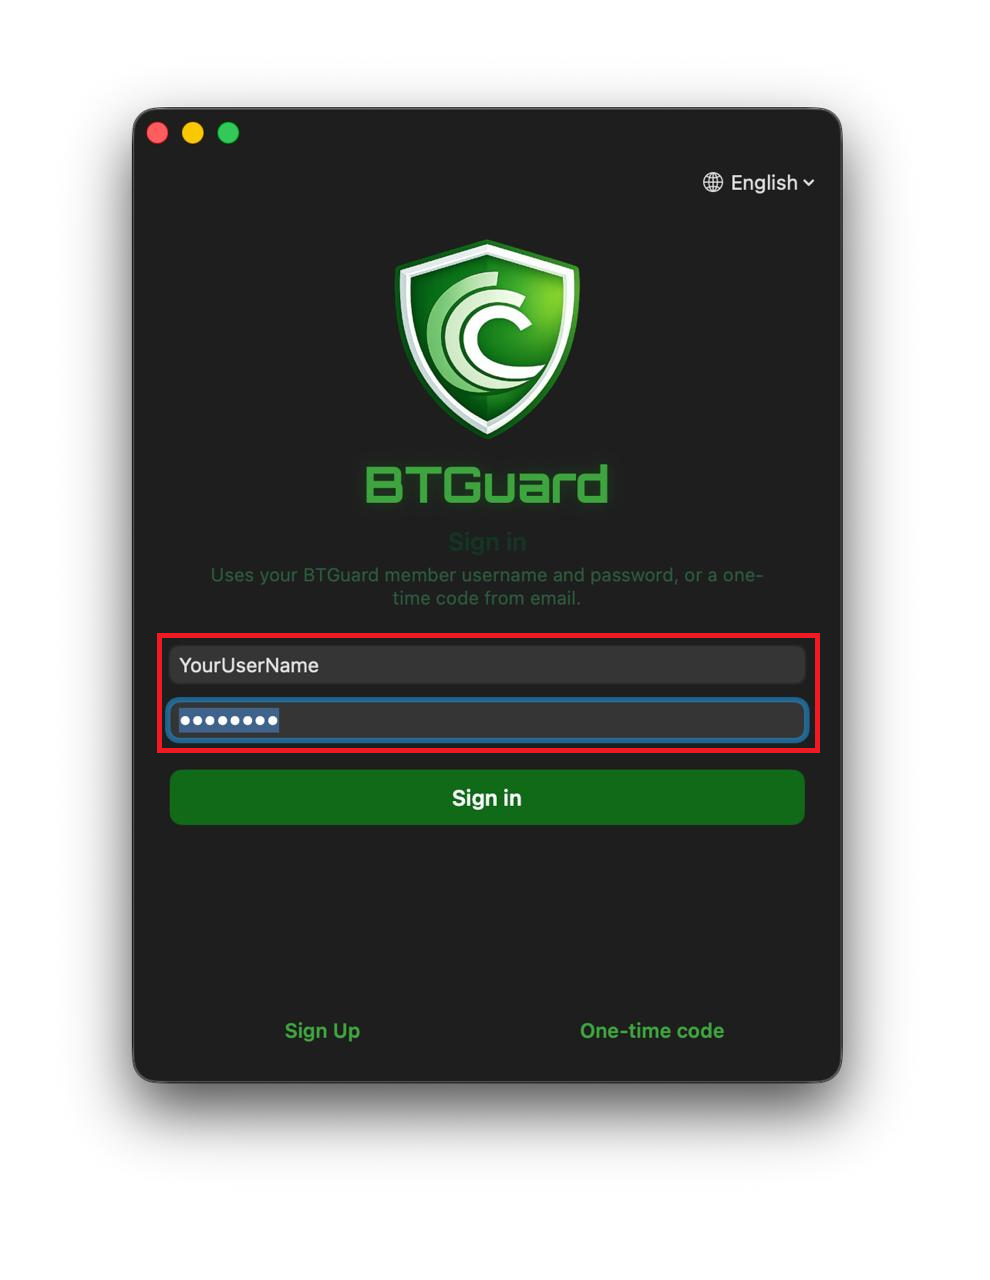
- 4. Fill in your Username and Password.
Both username and password are case sensitive. Make sure not to add/forget Capital Letters. - 5. Hit Sign in.
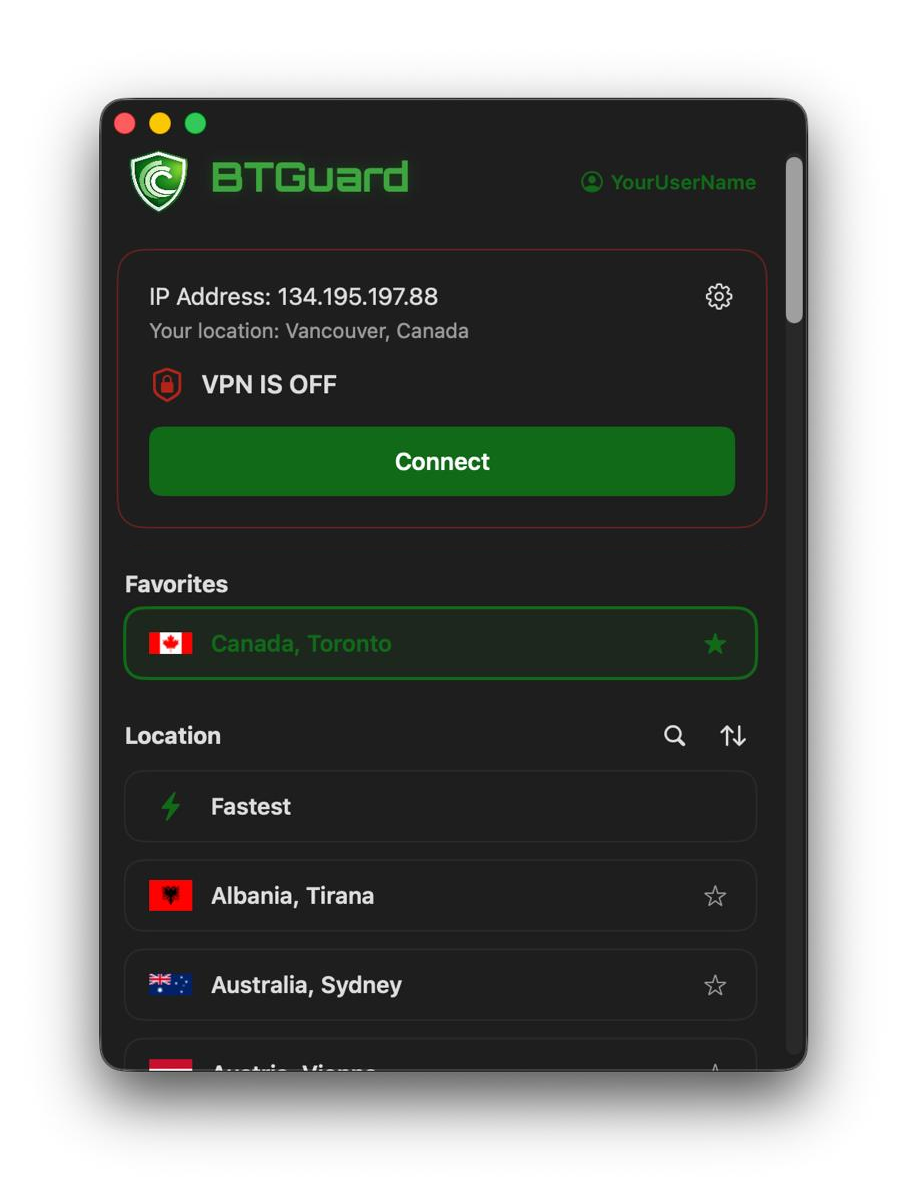
- 6. Hit Connect.
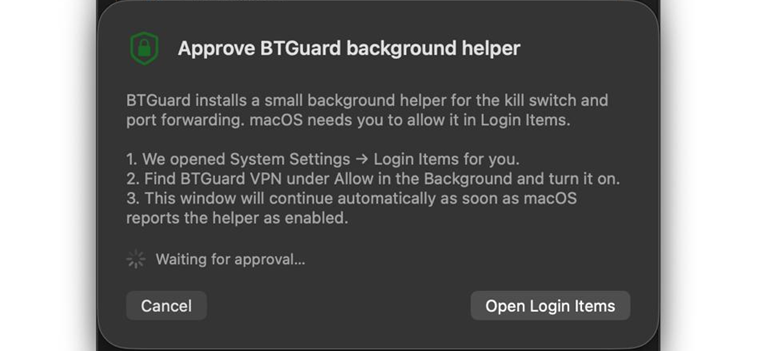
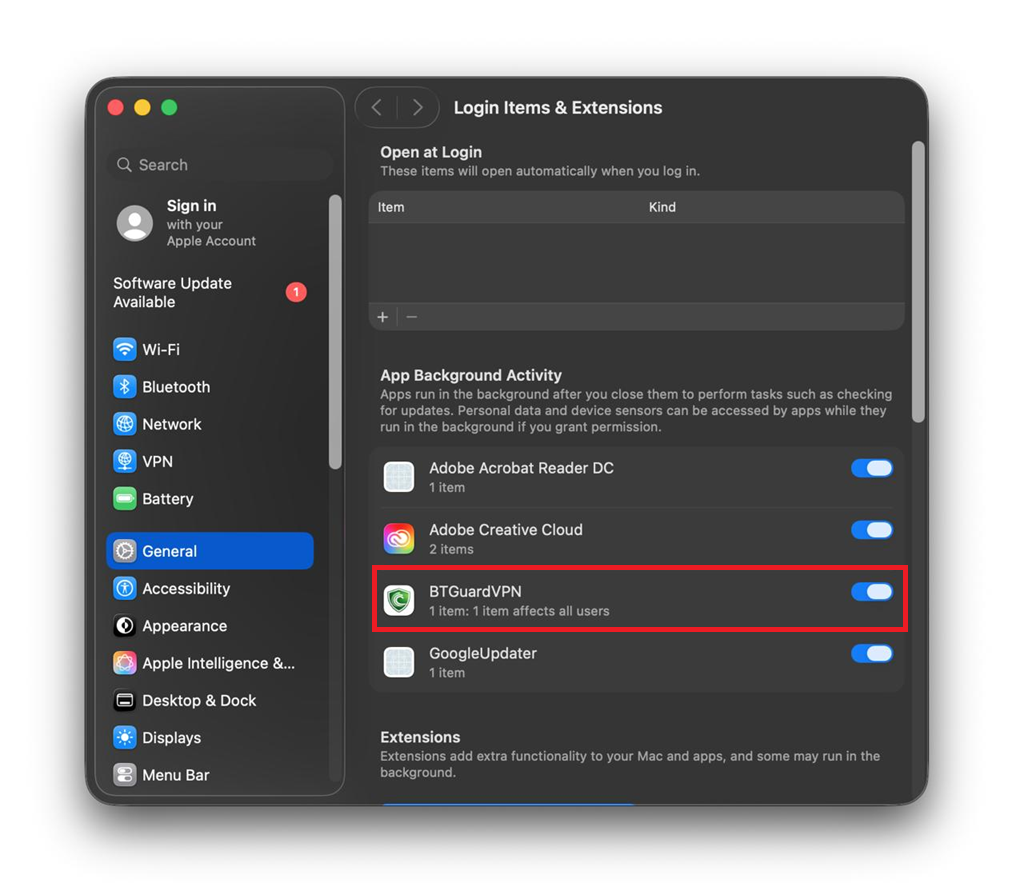
- 7. On your first time connecting, you will need to allow BTGuardVPN to run in the background. In the new Login Items & Extensions window, locate BTGuardVPN and activate it.
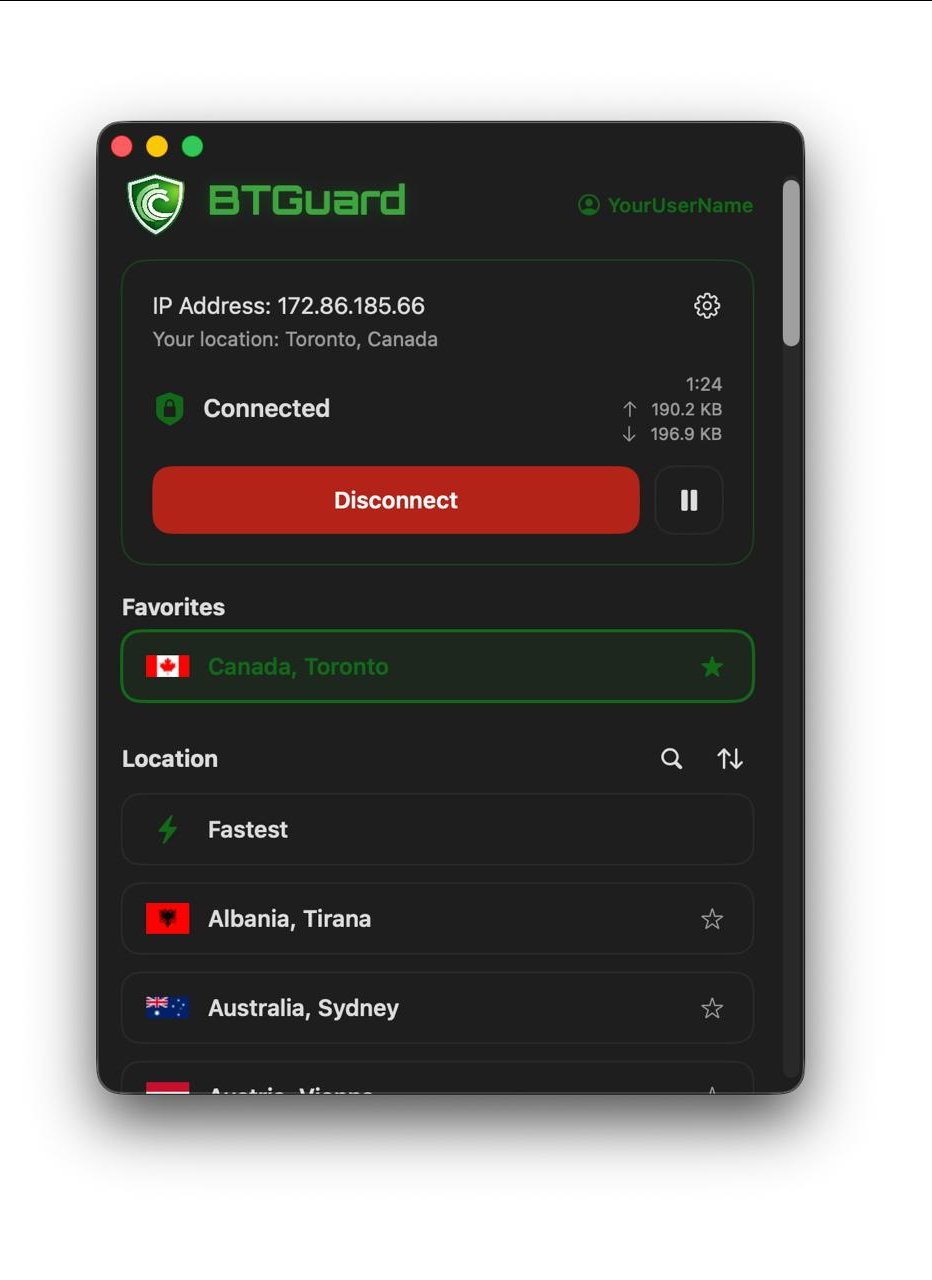
- You are now connected!
Settings
- 1. Click on your username to Manage your account, Change language and Log out
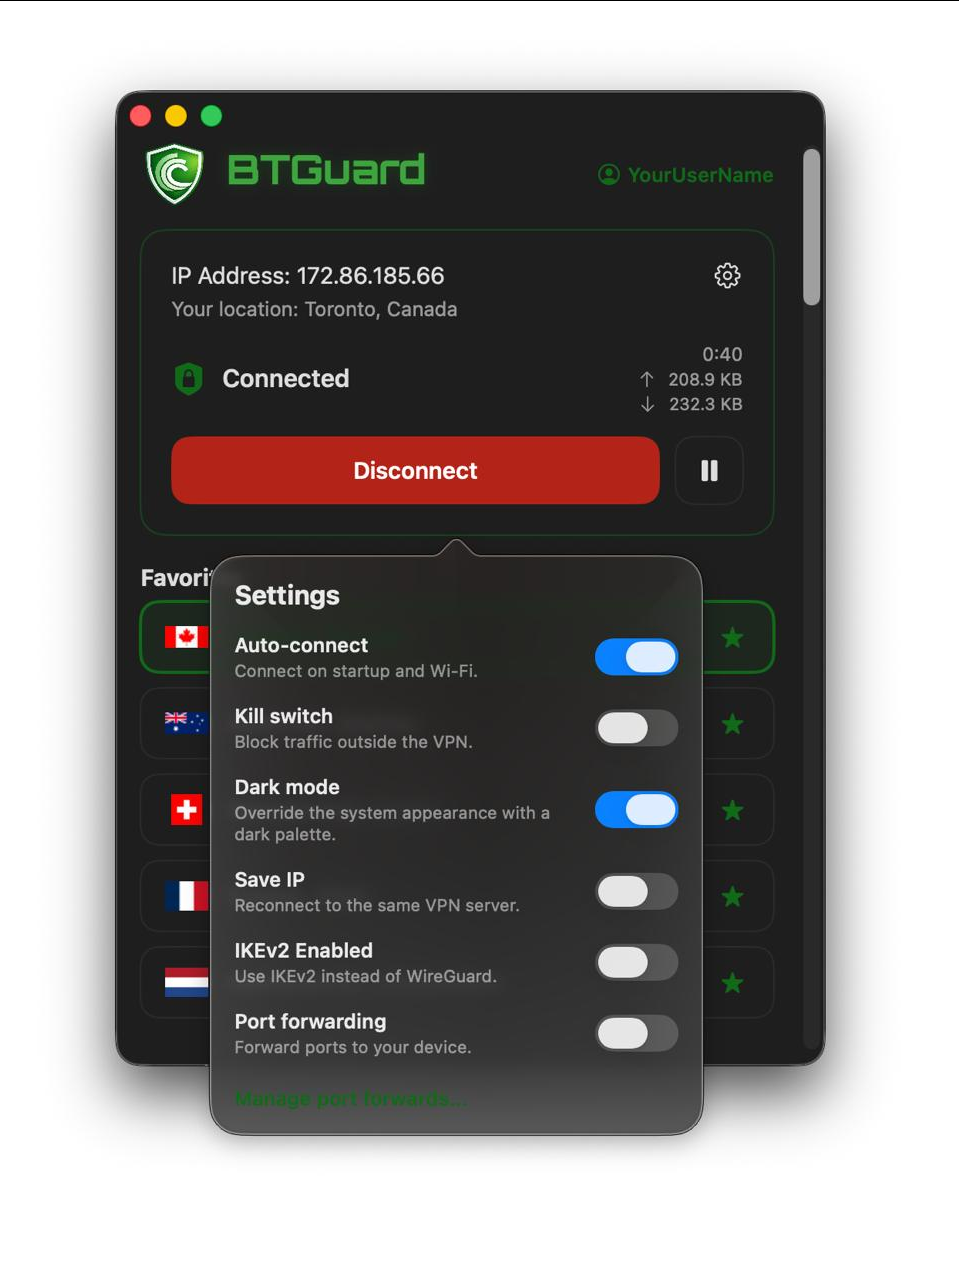
- 2. Click on the gear box and here you will be able to adjust some settings for your VPN
- Auto-connect: When enabled it will automatically connect to your last used location when you open the app or if you switch wifi network.
- Kill switch: If for some reason the VPN connection is lost, all internet traffic would be blocked while it reconnects.
- Save IP: If you'd like to keep using the same IP for any reason, enable this option.
-IKEv2 Enabled: If for any reason you'd like to use IKEv2 instead of WireGuard
- Port forwarding: Forward ports through our VPN to your device. (If you don't know what port forwarding is, leave it disabled.) - 3. Click on the up and down arrow to change how all the locations are sorted, either by closest to your current location according to the IP you connect from or Alphabetically.