 BTGuard
IKEv2 VPN Setup on macOS
Configure BTGuard VPN with IKEv2 on macOS step by step: download the config, import it, connect. No-logs VPN with 32 locations.
Setup Instructions
- 1. Go to the IKEv2 Certificate Generator (sign in with your BTGuard account if prompted).
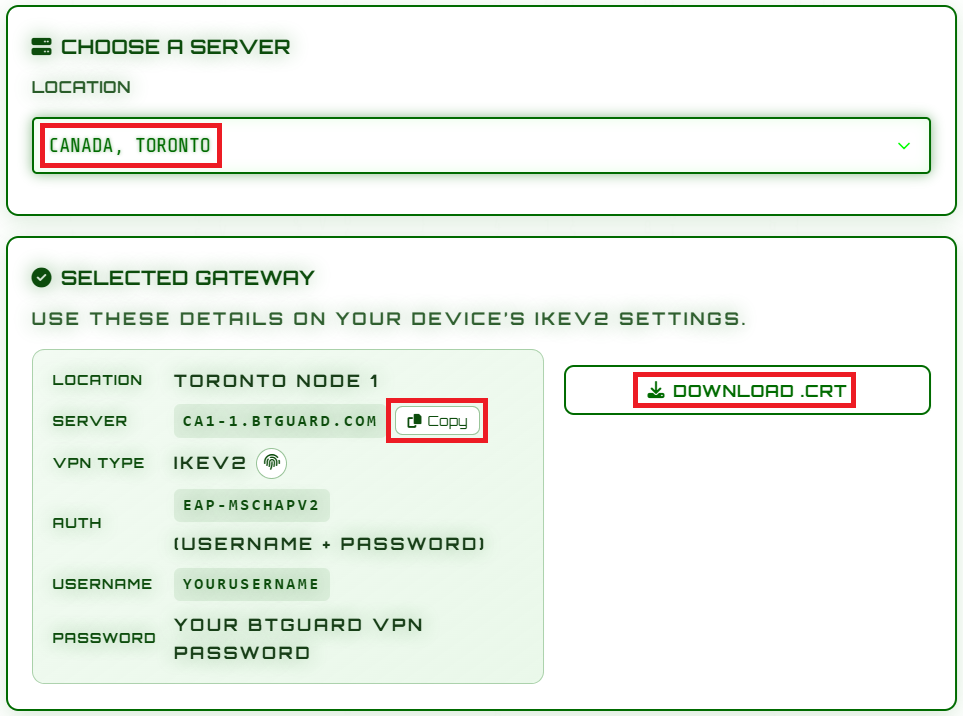
- 2. Select the Location you’d like to use. When the gateway details load, click Copy next to the server hostname and click Download .crt to save the public certificate.
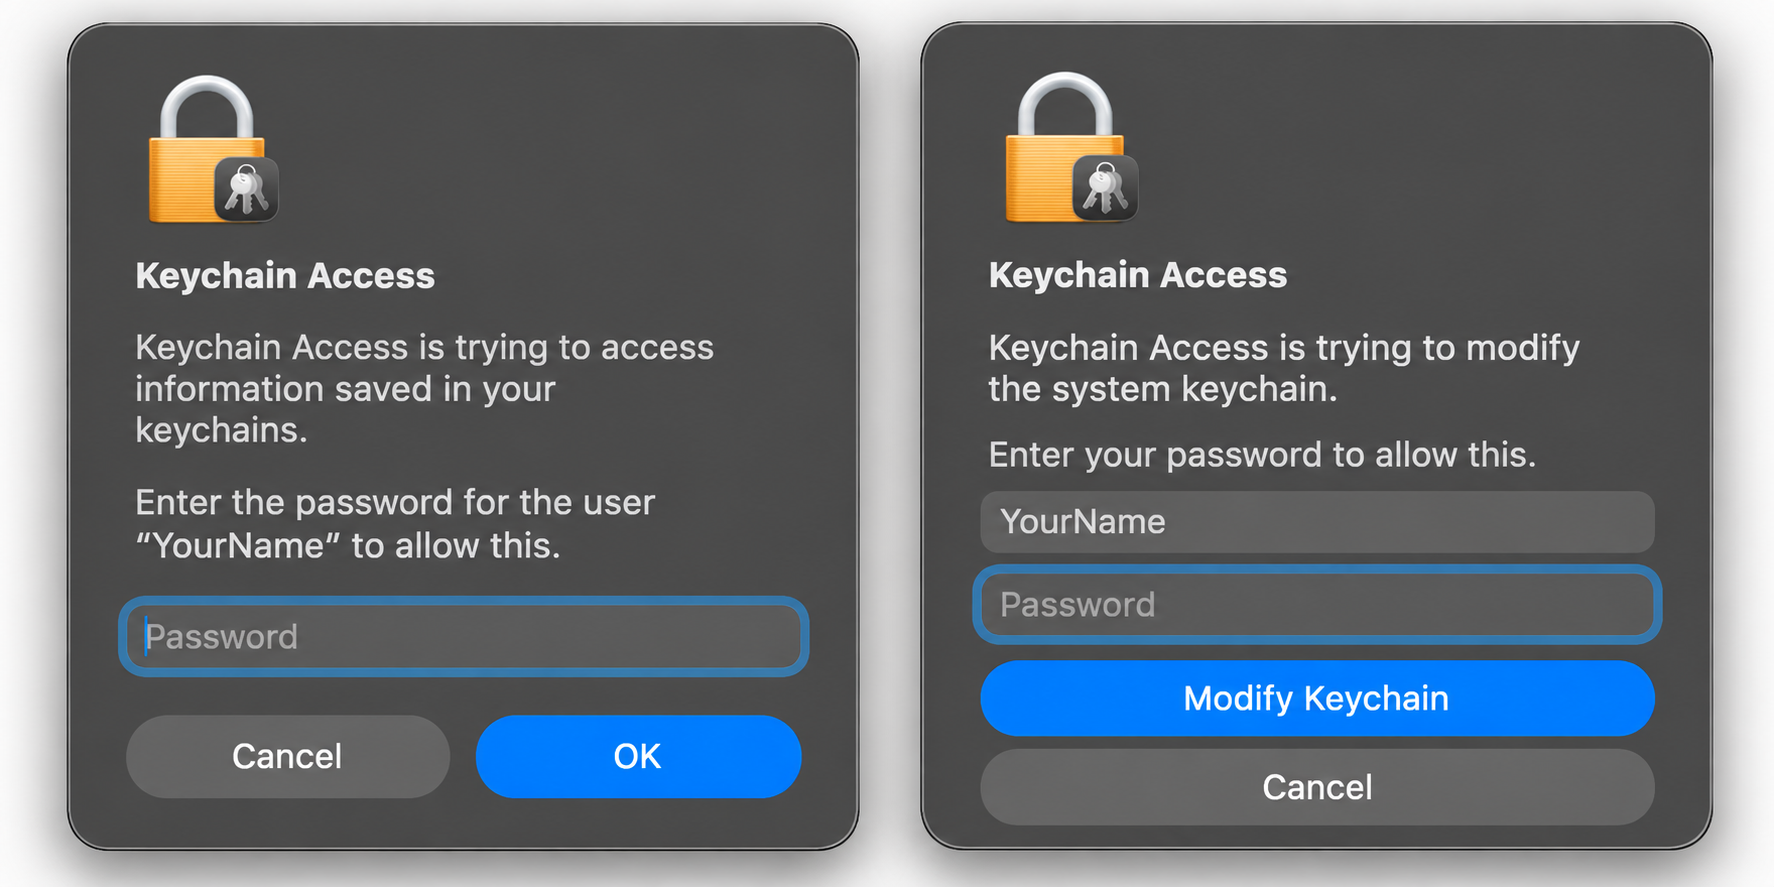
- 3. Open the .crt file you downloaded (double-click it). Keychain Access opens.
- 4. If macOS asks which keychain to use, choose System (recommended for VPN) or login, then enter your Mac password.
- 5. In Keychain Access, find the certificate you just added (use the search box if needed). Double-click it, expand Trust, set When using this certificate to Always Trust, close the window, and enter your Mac password to confirm.
- 6. Open System Settings → Network → VPN.
- 7. Click Add VPN Configuration → IKEv2.
- 8. Fill in the fields:
- Display name: anything you like (e.g. BTGuard IKEv2)
- Server: paste the server address you copied in step 2
- Remote ID: same server address as above
- Local ID: leave blank
- User authentication: Username
- Username: your BTGuard VPN username
- Password: your BTGuard VPN password
- 9. Click Create (or OK on older macOS versions).
How to Connect
- 1. Open System Settings → Network → VPN, select your BTGuard IKEv2 profile, and click Connect.
- 2. You can also connect from the menu bar: click the VPN icon (or Control Center) and choose your profile.
- You are now connected!
Tip: To switch locations, pick a different region on the IKEv2 Certificate Generator, download the new .crt, trust it in Keychain Access, and update the Server and Remote ID fields on your VPN profile.